
Digiscoping has much to do with achieving optimal steadiness when clicking that shutter button on your smartphone camera at the moment of truth. That’s where tripods earn their keep. In fact, you’ll be hard-pressed to find anyone using a spotting scope without one. Sure, some folks use window mounts on their vehicle, but it’s rare to see anyone free-handing it with a spotting scope.
What about binoculars?
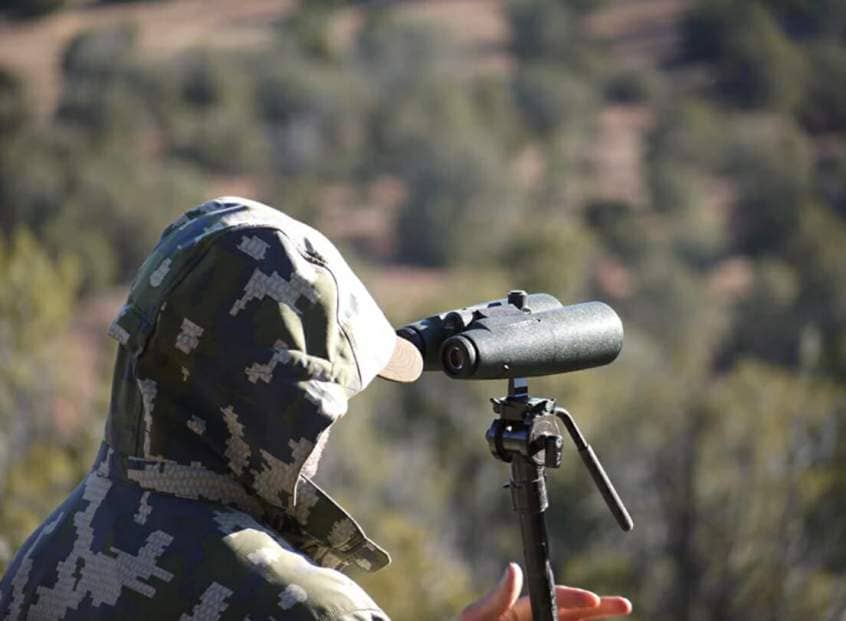
With repetition, binos are fairly easy to use without a brace. It’s true.
However, it’s almost akin to taking a fly swatter to a gunfight. Like their spotting scope counterpart, a tripod can make all the difference in the world in terms of image clarity – and I’ve found this to be true whether looking through low-end or high-end glass. Bracing your binoculars with a tripod also means less fatigue in your arms, shoulders, and neck. This method makes for more extended viewing through added comfort.
Adapter Styles

This adapter (black) connects a tripod directly to binocular models
Equipped with a threaded insert.
There are a variety of styles of adapters for attaching your digiscoping setup to a tripod. My favorite way to digiscope with binoculars is to use a tripod in conjunction with an optics tray-style (tabletop) mount. There are other ways but most require binoculars with a built-in universal thread for tripods.
The good news is that tripods come in a variety of sizes, weights, and price points. This means you can go with a more advanced tripod, a budget one, or an extra knock-around model. As for adapters; they are typically inexpensive, ranging from $15-$200. Further, such a setup makes it easy to pack an extra pair of binoculars for the initial spotting of outdoor subjects.
How to Use a Plate-Style Tripod Mount

A “tray-style” adapter is a simple and secure way to use binoculars with a tripod, whether or not your optics come with a threaded insert.
What you’ll need:
- Binoculars
- Tray-style adapter mount
- Phone Skope digiscoping adapter kit
- Smartphone (charged)
- Small lightweight folding stool or chair (optional)
After packing your gear and arriving at your digiscoping spot, follow these simple steps.
Step 1: Set up your tripod, estimating the approximate height you’ll need for comfortable digiscoping.

The back of the plate has a threaded insert for attaching the mount to the threaded tripod.
Step 2: Attach the mount to the tripod (turn it clockwise).

Step 3: Connect your phone to your optics with your Phone Skope adapter kit (it’s okay to do this after the binoculars are firmly attached to the tripod as well).

Connecting your smartphone to your binos can be done early in the process or at the end.
Step 4: If using a tabletop-type mount, set your binoculars on it and secure it with the attached strap.

Step 5: Do a little glassing to fine-tune your needed tripod height (adjust the tripod accordingly).
Step 6: Start Capturing and Record!
Final Thoughts
I prefer this method even for binoculars equipped with a threaded insert for tripods or mount adapters. The stability coming from having your whole digiscoping setup sitting firmly on a flat surface is hard to beat for minimizing vibration. The end result is clearer images, as well as a more comfortable experience while digiscoping your favorite outdoor landscapes, wildlife, and other subjects.
Tripods aren’t only for spotting scopes, cameras, and shooting. Leverage both your favorite binos and tripod by using an adapter. It’s a great way to capture and record via the unique form of photography that is digiscoping.